How To Transform a Wall For $50
My favorite way to transform a wall is with shiplap! There are a ton of different ways to shiplap a wall and they all very in cost. As convenient as the tongue and grove shiplap boards are, the are not easy on the wallet. I discovered a method that I think is just as easy and saves a ton of money.

How I create shiplap:
I buy a 4×8 1/5 in underlayment panel from Home Depot for $28. I cut it down into 8 strips with a table saw. For this wall I did a darker color. To make it easier down the line (but not waste paint) paint the darker color on the wall only where the crack from the ship lap will be.

There are two things that are very important when shiplapping a wall. The first thing is to make sure you always start from the top. The reason being is the chance that that last board will be a full board and not need to be cut down smaller is not very high. You want that smaller board at the bottom where you likely won’t notice it. If it was at the top it would draw your eye right to it. The second thing is always make sure the top board is level. Don’t just assume your ceiling is level. Get out the level and double check the boards. Living in a old farmhouse I can tell you 99% of the time the ceiling is NOT level. No worries if there’s a gap there though…that’s what caulk is for!
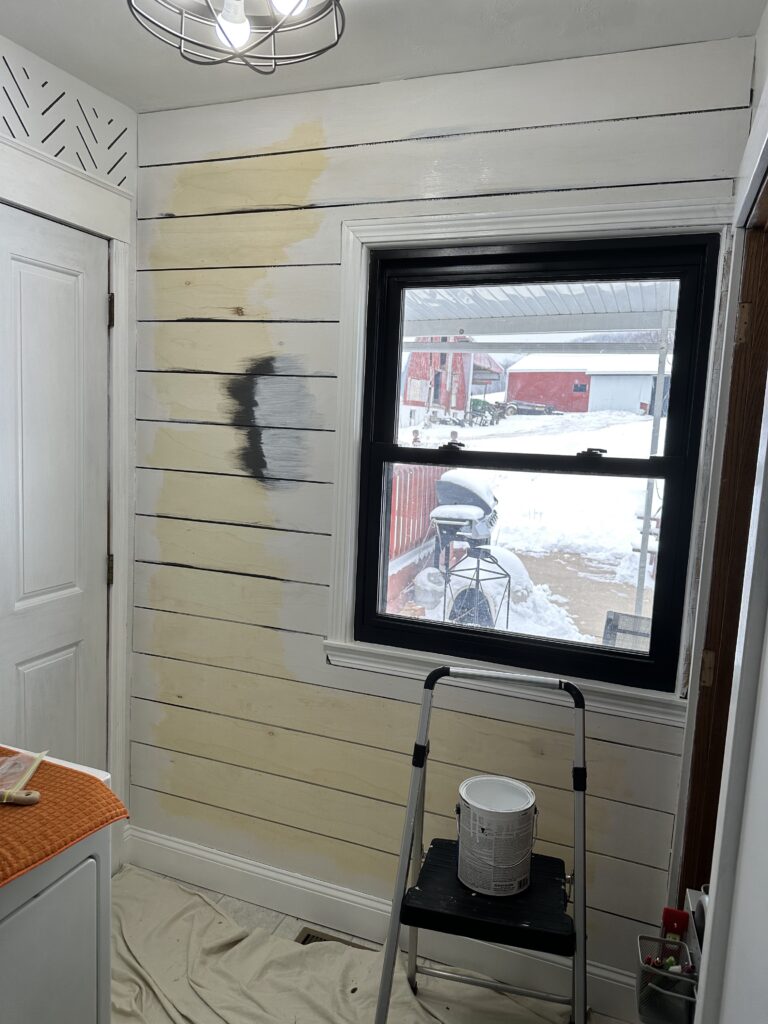
I used my Cordless Ryboi Brad Nailer to attach all of the planks to the wall. I like to nail two nails in every 12-24 inches. If you are going to fill the nail holes it won’t matter where you put them. But for this project I didn’t fill them so I made the nails uniform all the way down.
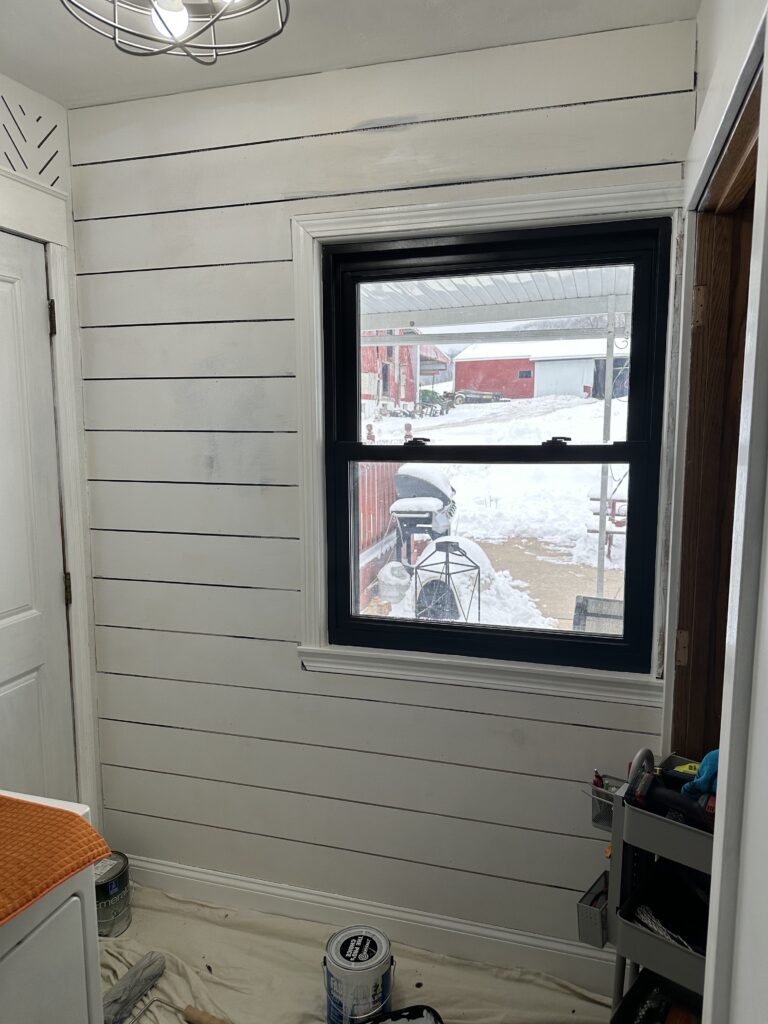
I prime all the boards after I get them attached to the wall. If you are going to fill the nail holes you will want to do this before priming. After one coat of primer I did two coats of my top color. For this project I used SW Peppercorn.